|
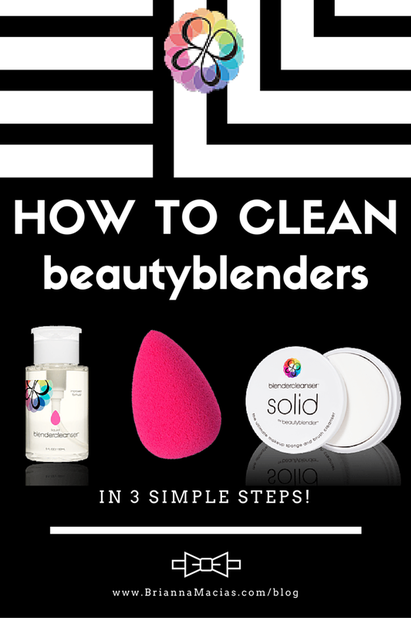
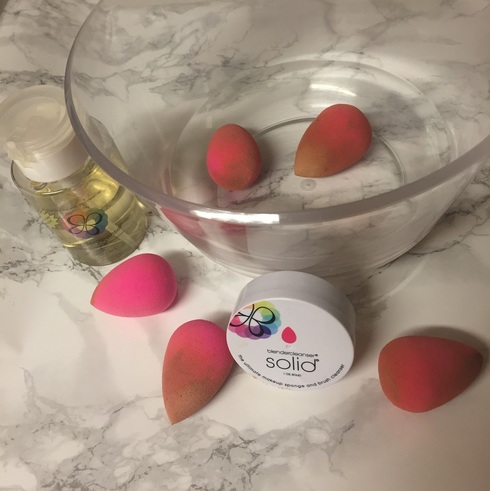
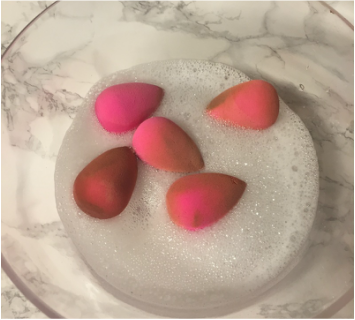
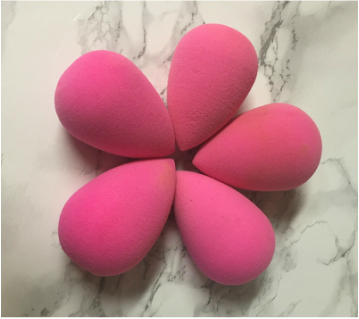
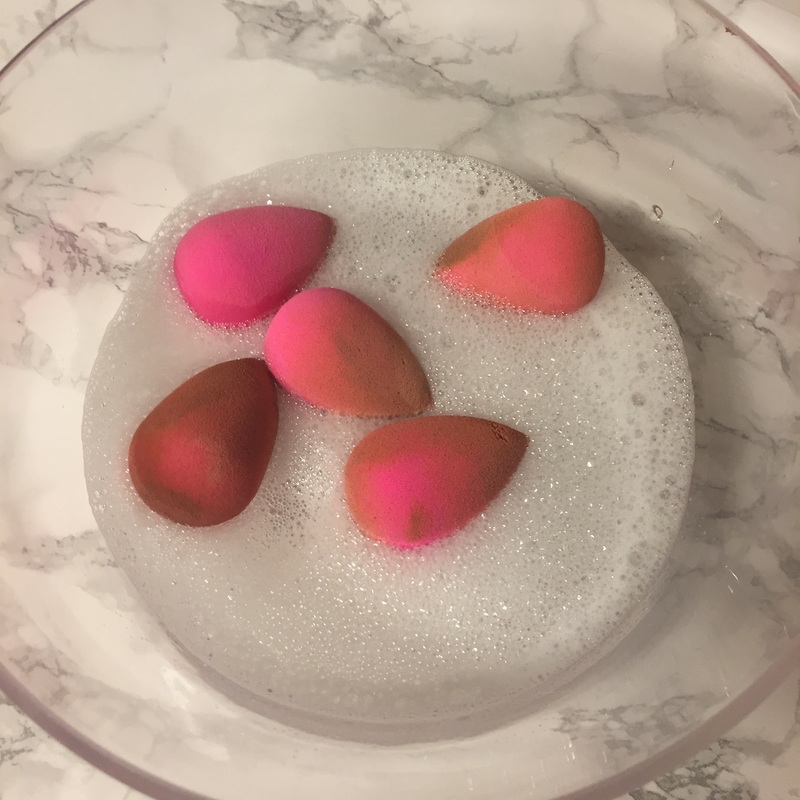
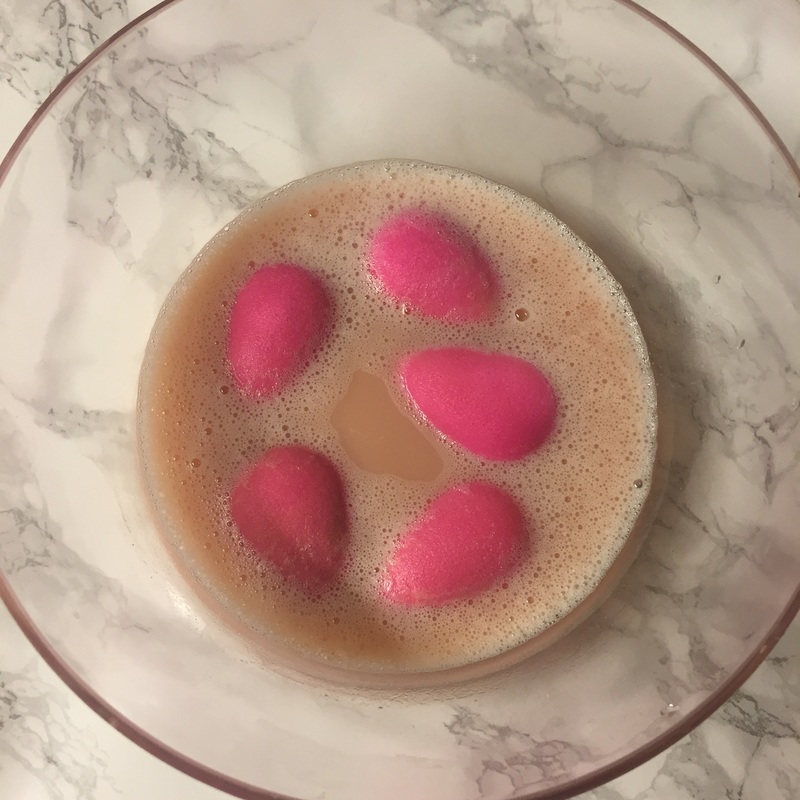
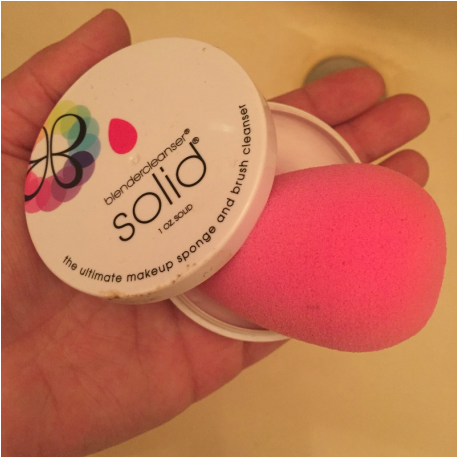
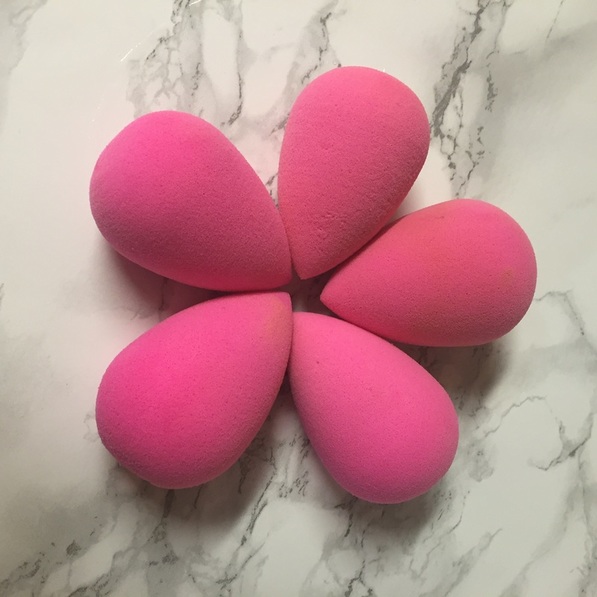
Hey! If you're reading this then I am assuming you have some dirty sponges and are looking for a solution and I am here to tell you and show you exactly how I get mine to look basically brand new. So first, my thought process for how I clean my sponges is simple. Just like I double-cleanse or cleanse-exfoliate my face, I do the same with the sponges. Yes, you can clean them well with just one cleaning method but you can clean them way better with the two-step method. You also have to remember that this sponge is repeatedly being dipped into product and going on your face...then you wonder why you breakout, etc. There is a solution and I'm here to tell you it's easy as 1-2-3! Follow these step by step instructions to get your sponges and BeautyBlenders from yucky to brand new!1. Pour BeautyBlender liquid blendercleanser® into a bowl then add warm water to lather. 2. Drop your dirty sponges in the bowl. This step is important because you want to pre-soak your sponges to get all the gunk out. You will want to leave them to soak for at least 10-15 minutes. 3. After they have been left to soak for a bit, it is time to do a second cleaning with the original BeautyBlender blendercleanser® solid. You will want to do this with warm water as well. THE FINAL RESULTS: Almost brand-new sponges for your collection. Now you can do your makeup at ease, no more worrying about if your dirty sponge is going to cause another breakout! Note: There might be a few small stains...but that's just it, a stain! It's discoloration on the sponge, no need to worry. Be sure to "pin" images for later and save it for reference! Thank you for visiting the blog and scrolling to the end. Stay tuned for more "How To" posts and much more!
0 Comments
Leave a Reply. |
Author:
|
SERVING COUPLES IN CALIFORNIA, COLORADO & ALL DESTINATIONS
We are a California & Colorado team offering wedding, special events & branding beauty services!
Brianna Macias & Company - On Location Makeup Artist - [email protected] - (714) 262-0290
Privacy Policy | Terms & Conditions | Join Team | Blog
Brianna Macias & Company - On Location Makeup Artist - [email protected] - (714) 262-0290
Privacy Policy | Terms & Conditions | Join Team | Blog

